部署Hexo博客
部署Hexo Blog到Github Page和Gitee Page
AI导读:本文介绍了如何将Hexo博客同时部署到Github Page和Gitee Page。首先,使用Github的私人仓库存储博客内容,并通过Github Actions实现自动化部署。该过程包括三个主要任务:构建、上传静态网页到Github Page和Gitee Page。在构建过程中,需要配置访问Token,并利用Git子模块管理自定义主题。文章还提到Node.js版本需与开发环境一致,并提供了简化的上传流程,避免在博客仓库生成gh-pages分支。此外,还给出了新建Github Page仓库的步骤和相关参考链接,确保读者能够顺利完成部署。
前言
参考搭建个人博客的方案选择 提供的部署方案,我们选择同时将网站部署到Github Page和Gitee Page。
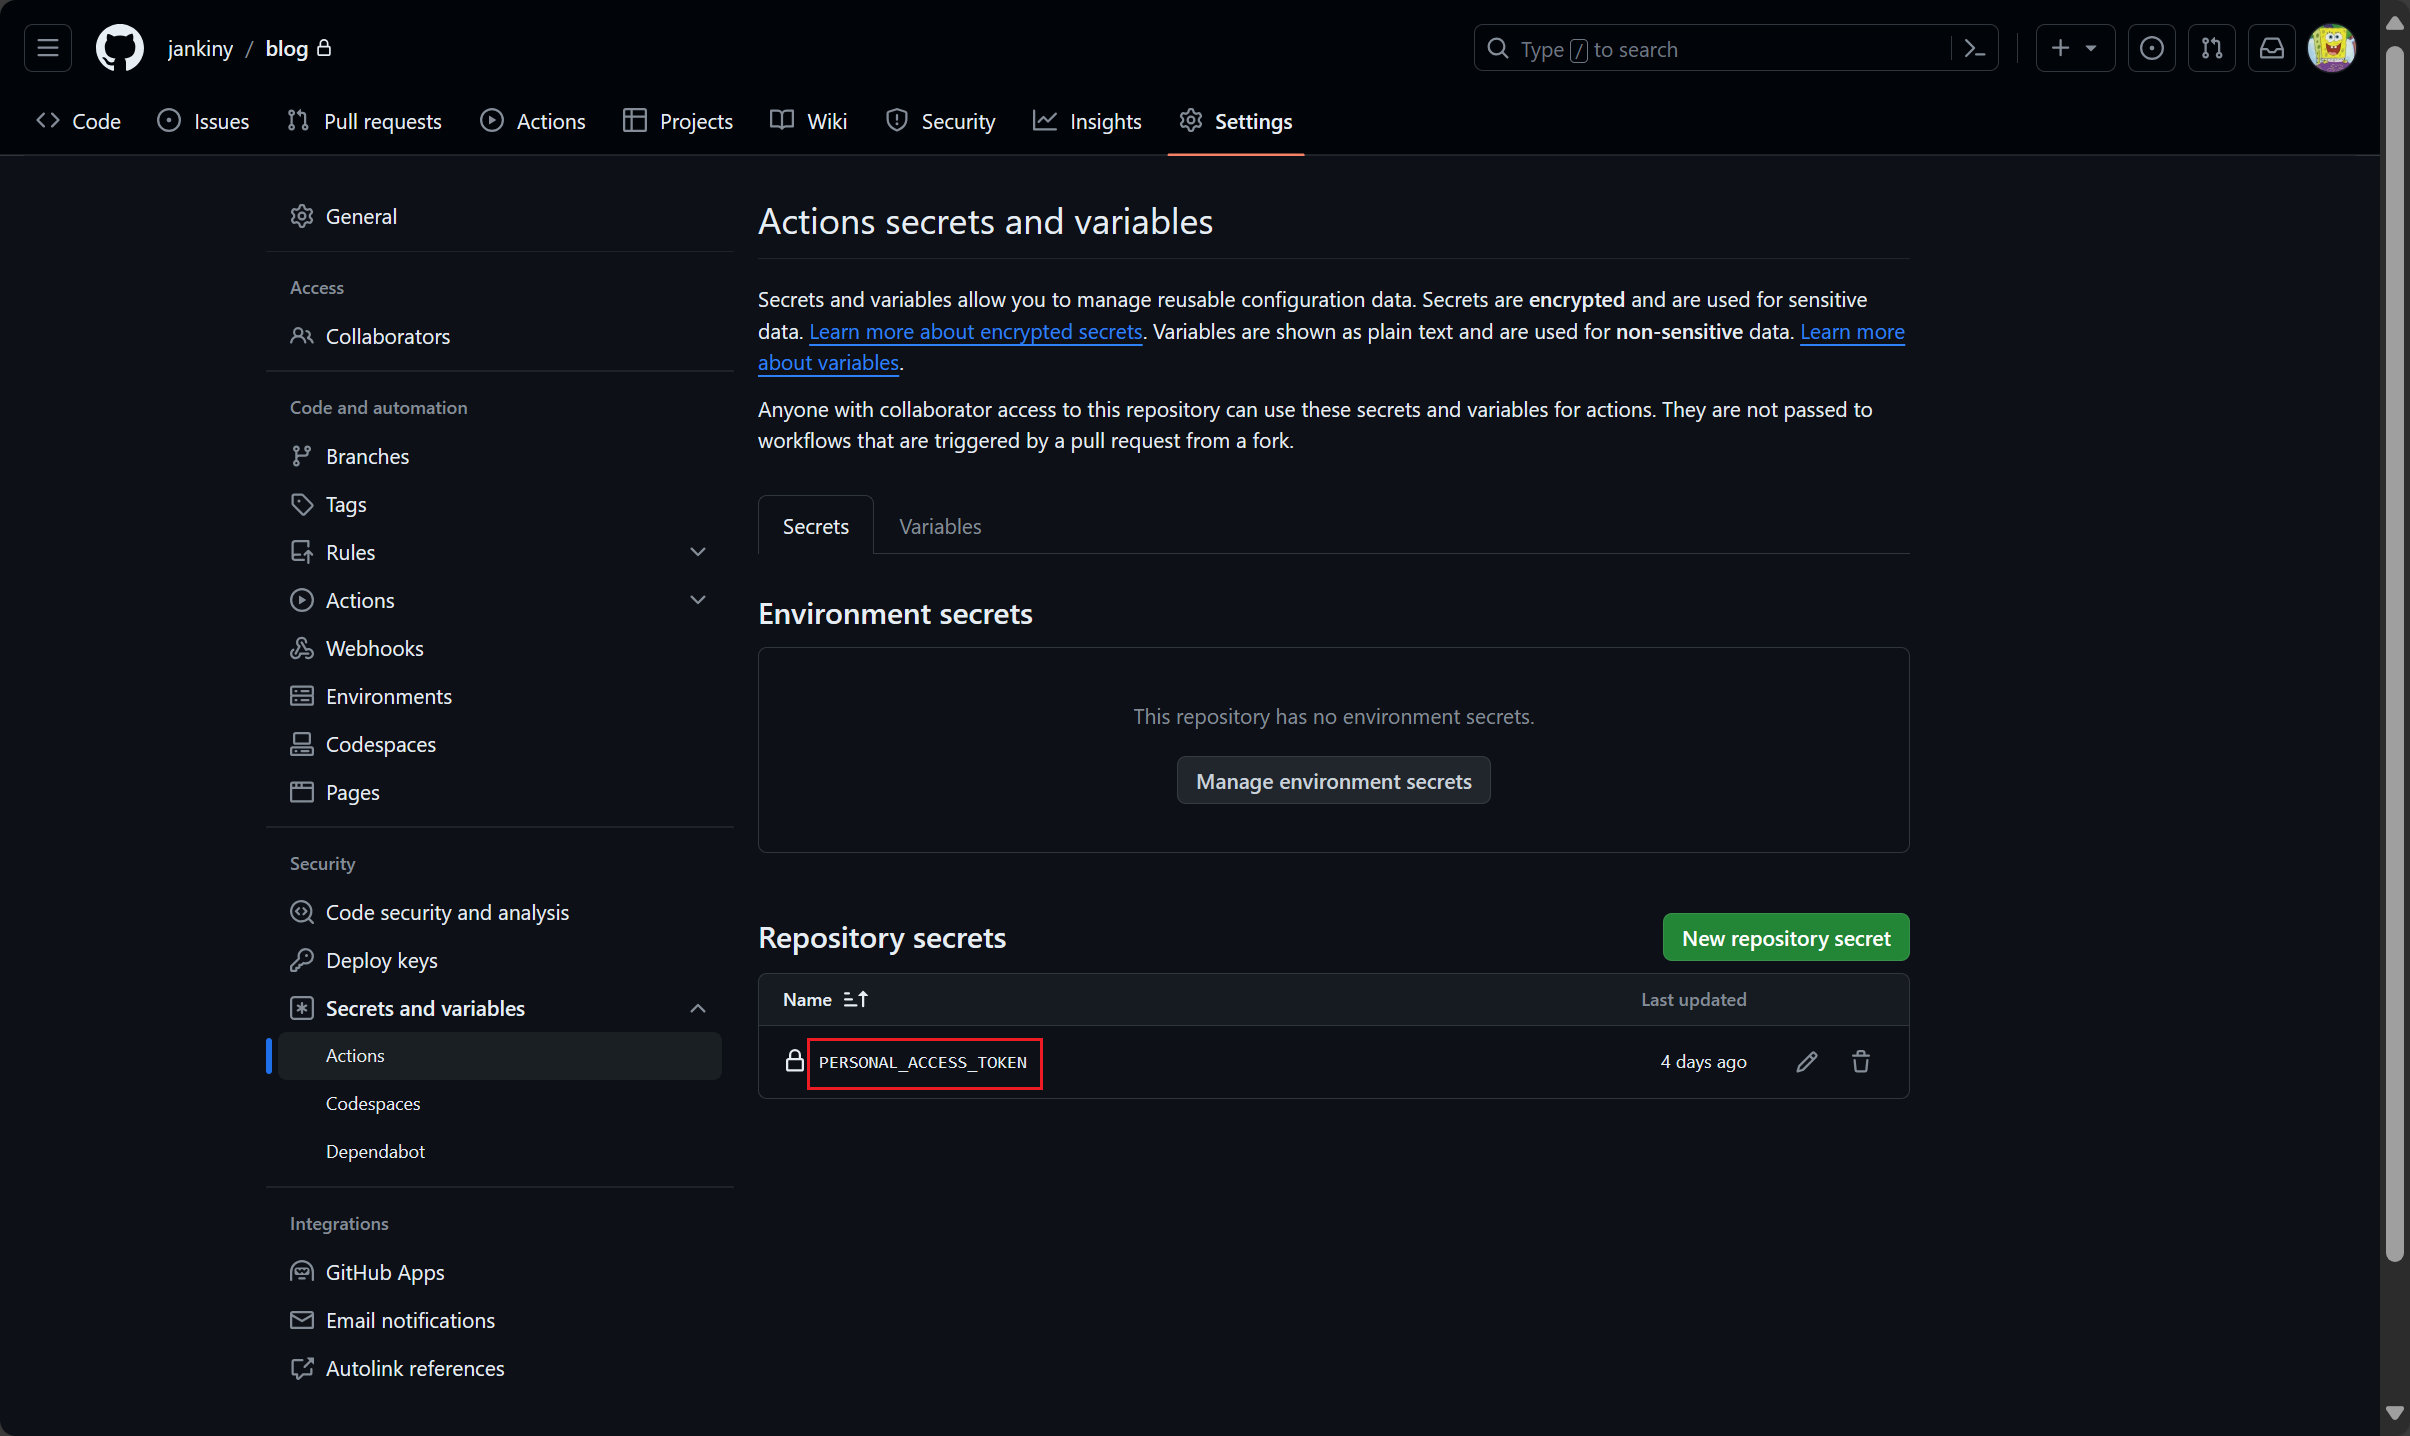
目前,博客的仓库在Github,由于一些博文不方便公开增加了密码,所以仓库使用私人(Private)访问权限。
我们使用Github Actions,在每次push到仓库的master分支时,自动化部署网站。我们的Github Actions脚本分为3个Job:build、deploy-to-jankiny_github_io、deploy-to-jankiny_gitee_io:
1 | name: Deploy to Github Pages and Gitee Pages |
Build
1 | build: |
actions/checkout@v4
参考checkout@v4文档。
- 我们在Blog仓库使用了
Submodule来调用我们修改后的ppoffice/hexo-theme-icarus主题,为了避免在包管理时与icarus重名,我们讲修改后的主题命名为solon,开源在jankiny/hexo-theme-solon。
Use Submodule
移除现有的 themes/solon 目录(如果存在)。
使用 Git 子模块的方式添加自定义 solon 主题仓库到 themes/solon:
这样做后,你可以通过进入到子模块目录来同步主题的更改:
2
3
# git pull
# git push注意:使用Submodule不能实现递归的安装子模块的包,即在Blog仓库执行
npm install时不会安装themes/solon下package.json的包。我们不安装hexo-theme-icarus,所以要在Blog仓库的package.json中补充主题所需要的包。
Use Node.js 20.x
这部分需要与开发环境使用的npm版本保持一致。我们在开发时使用的Node.js版本为v20.11.1,所以这里选择20版本。
Node.js版本管理
Cache NPM dependencies && Install Dependencies && Build
与官方的部署代码保持一致。
Upload build artifacts
这部分是用于简化我们部署流程。
以存放Hexo源码的“Blog仓库”和存放Github Page源码的“jankiny.github.io仓库”为例,一般的部署流程是将静态网页存放在“Blog仓库”下的gh-pages里 --> 将gh-pages分支复制到“jankiny.github.io仓库”,我们不愿再“Blog仓库”下生成一个存放静态网页的gh-pages分支,所以直接将生成的静态网页上传,然后在“jankiny.github.io仓库”下载。
部署到Github Page
1 | deploy-to-jankiny_github_io: |
前提
需要新建一个Github Page的仓库(参考GitHub Pages),注意仓库命名为*username*.github.io。建完仓库后随便推个文件到仓库,或者直接在创建时勾选创建README.md,保证仓库有一个main分支或master分支。
Checkout target repository
这部分使用上面的Secrets,访问“jankiny.github.io仓库”
Download build artifacts && Copy files to the repository && Commit and push
下载之前上传的网页,并将其提交到“jankiny.github.io仓库”
参考文章: